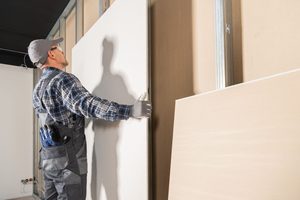
Drywall installation may seem simple, but small mistakes can lead to costly problems. Uneven walls, cracked joints, and visible seams can ruin the look of a new room. Worse, fixing these issues often means spending more time and money.
Whether you’re building a home, adding a room, or updating an office, knowing what can go wrong helps you plan better. Here are seven common mistakes, why they matter, and how to avoid them.
1. Skipping Checks Before Drywall Installation
Before hanging panels, inspect the framing closely. Bent studs, loose framing, or uneven surfaces can make finished walls look wavy. Drywall cannot hide every problem beneath it. If the frame is not straight, panels may not sit flat.
Before work begins, make sure:
- Framing is straight and secure.
- Electrical and plumbing work is ready for inspection.
- The area is dry and free from active leaks.
Taking care of these issues early helps prevent costly changes once the walls are closed.
2. Choosing the Wrong Drywall for the Room
Not all drywall panels are the same. Standard panels work well in many living spaces, but some areas need special materials. For example, bathrooms may need moisture-resistant products, while garages or certain shared walls may need fire-rated drywall assemblies.
Using the wrong type can cause problems or fail to meet building codes.Consider the room’s use, moisture levels, and local code needs before choosing materials. A trained drywall contractor can help select suitable panels for each part of the project.
3. Leaving Gaps During Drywall Installation
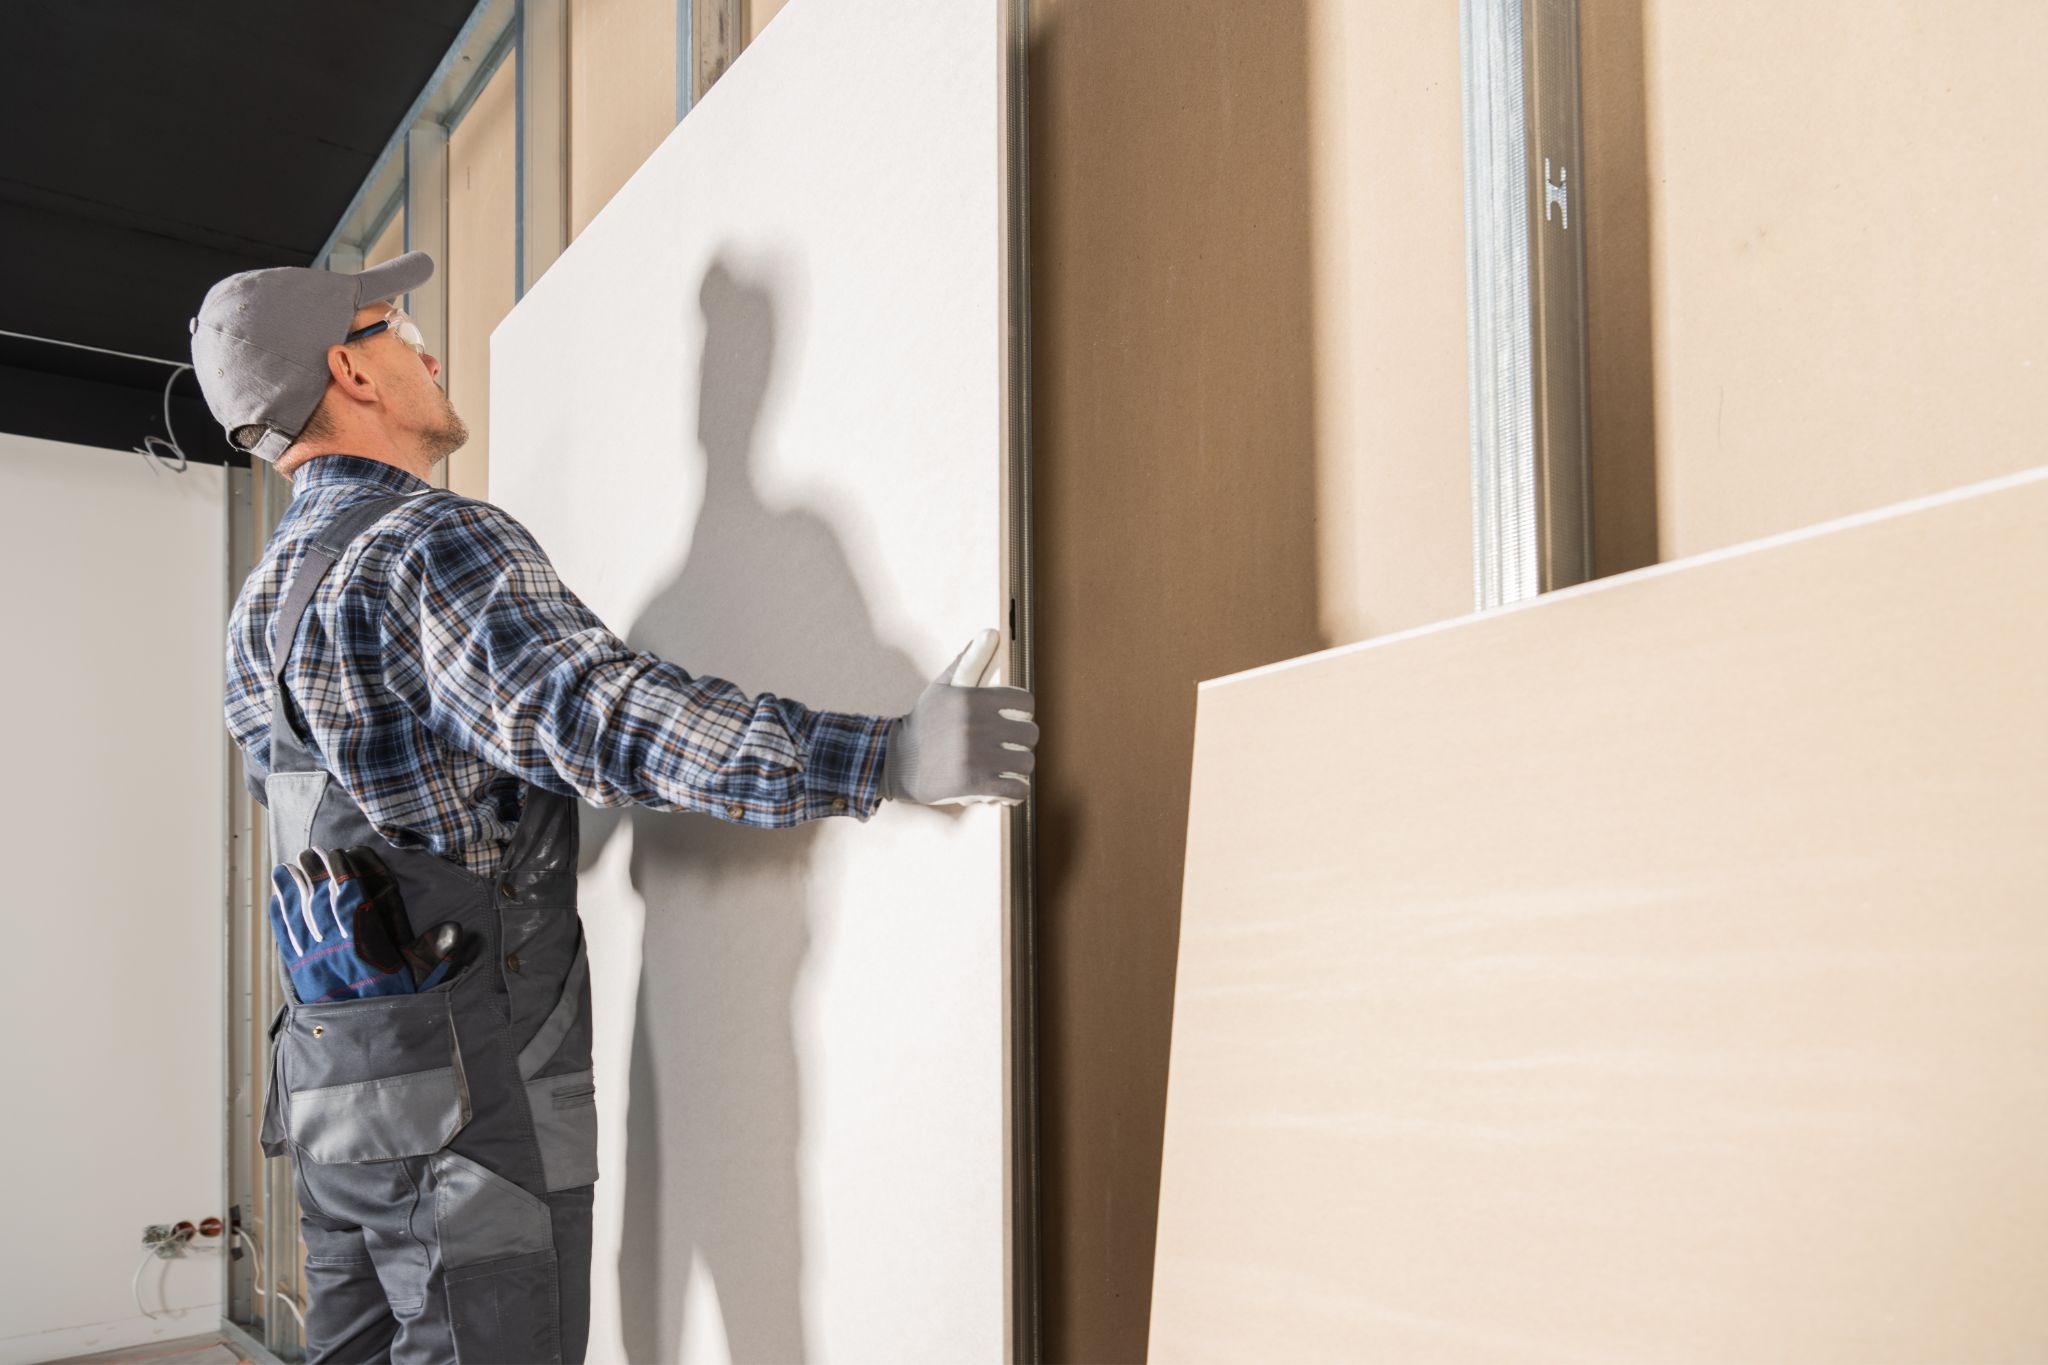
Panels must be measured and cut with care. Poor cuts can leave wide gaps around corners, doors, and windows. Trying to cover large gaps with joint compound alone may lead to cracks or weak joints later.
A proper fit helps create a smooth base for finishing. Installers should also follow the panel maker’s guidance for spacing and fastening. Careful measuring takes extra attention, but it reduces wasted materials and the need to redo work.
4. Placing Drywall Joints in the Wrong Spots
Every joint between two panels needs finishing. Poor joint placement can make those seams more visible and harder to hide. For example, placing seams near the corners of doors and windows may raise the risk of cracks as the building moves.
A good panel layout helps reduce weak spots and makes finishing easier. Longer panels may also reduce the number of joints. Planning the layout before cutting materials can save time during the later stages of the job.
5. Using Screws the Wrong Way
Drywall screws must hold each panel in place without damaging its surface. If a screw sits too high, it can show through the finish. If driven too deep, it may tear the paper and weaken the hold. Too few fasteners can also leave panels loose.
The best approach is to follow the panel maker’s instructions and the needs of the wall or ceiling assembly. Proper screw placement helps keep panels secure and makes the surface easier to finish.
6. Rushing Drywall Finishing
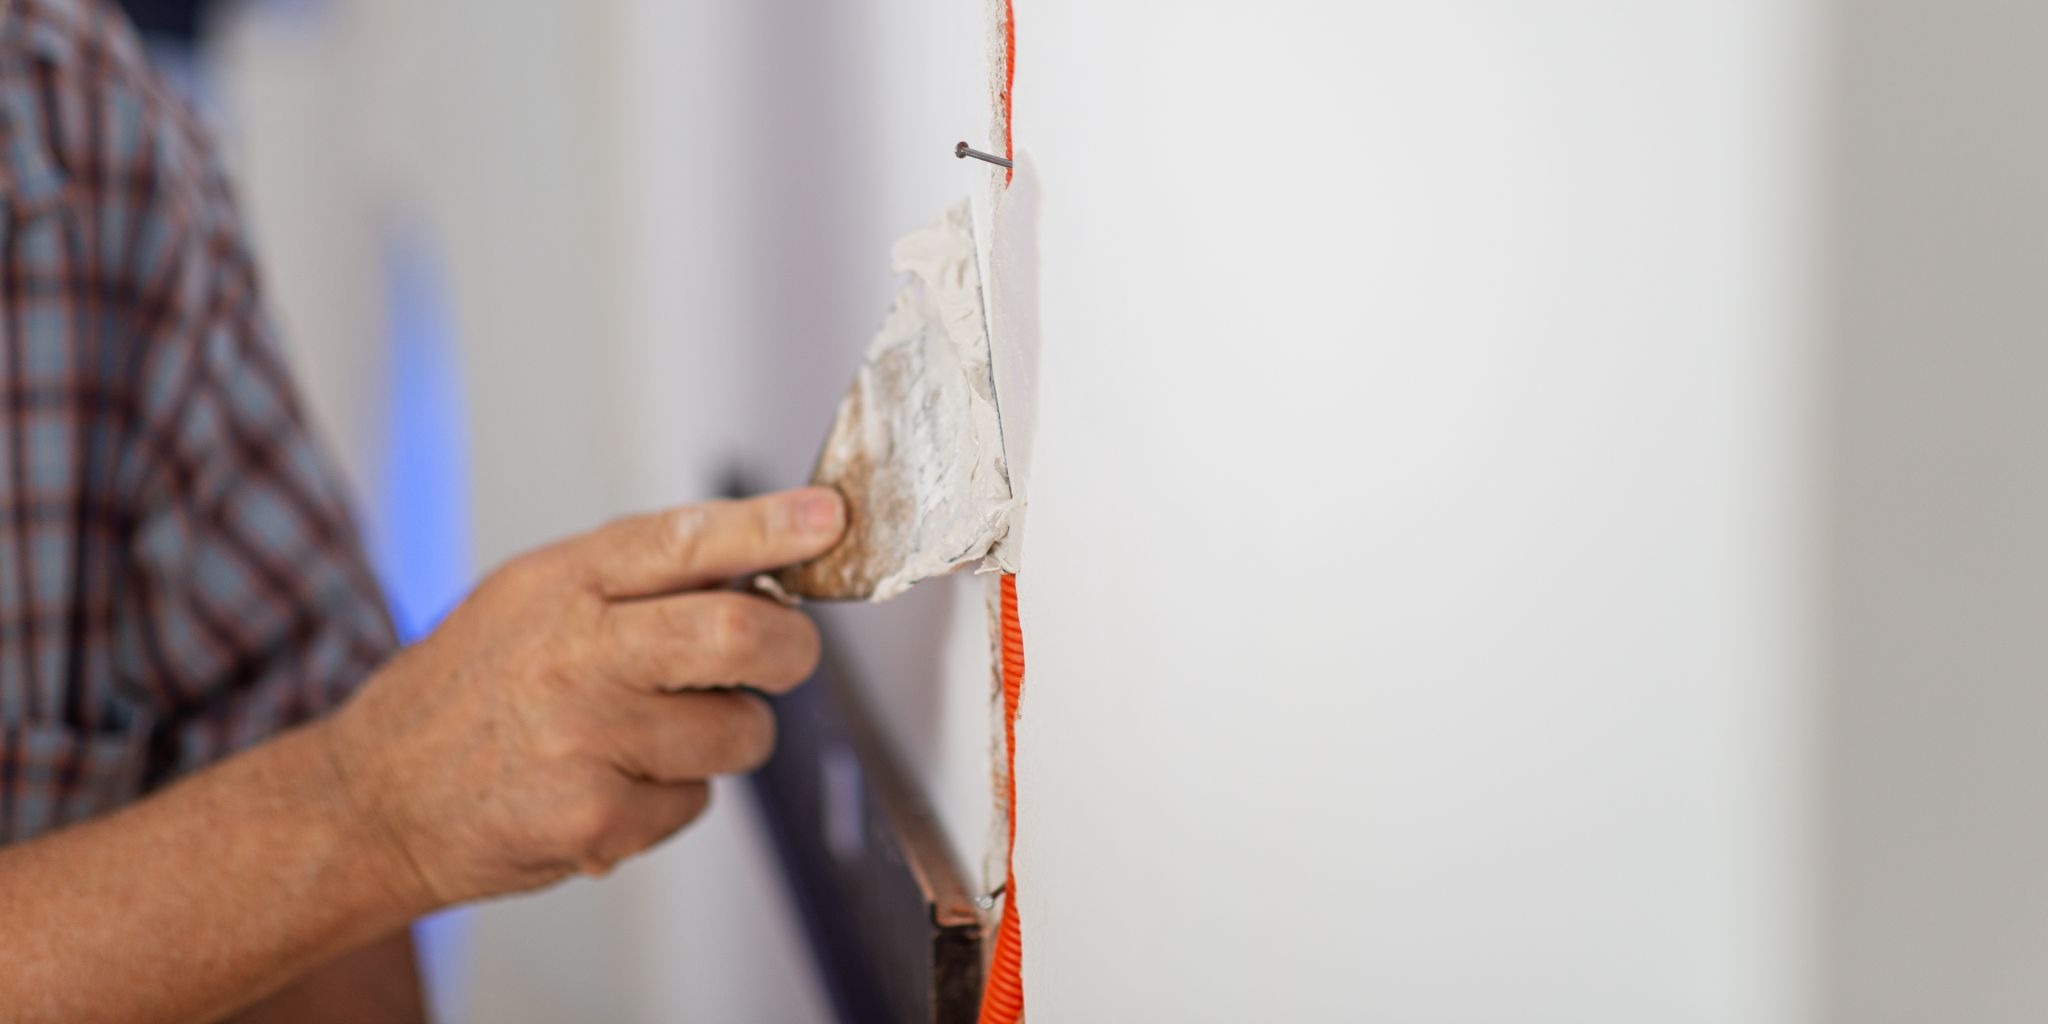
Drywall finishing takes patience. Tape, joint compound, and sanding help hide seams and create an even surface. Applying thick coats or sanding before the compound is ready can leave bumps, cracks, and rough spots.
For better results:
- Apply joint compound in thin, even coats.
- Let each coat dry or set.
- Sand carefully without damaging the paper.
- Check joints under good lighting.
Rushing this stage may leave flaws that become more obvious after painting.
7. Skipping the Final Drywall Installation Check
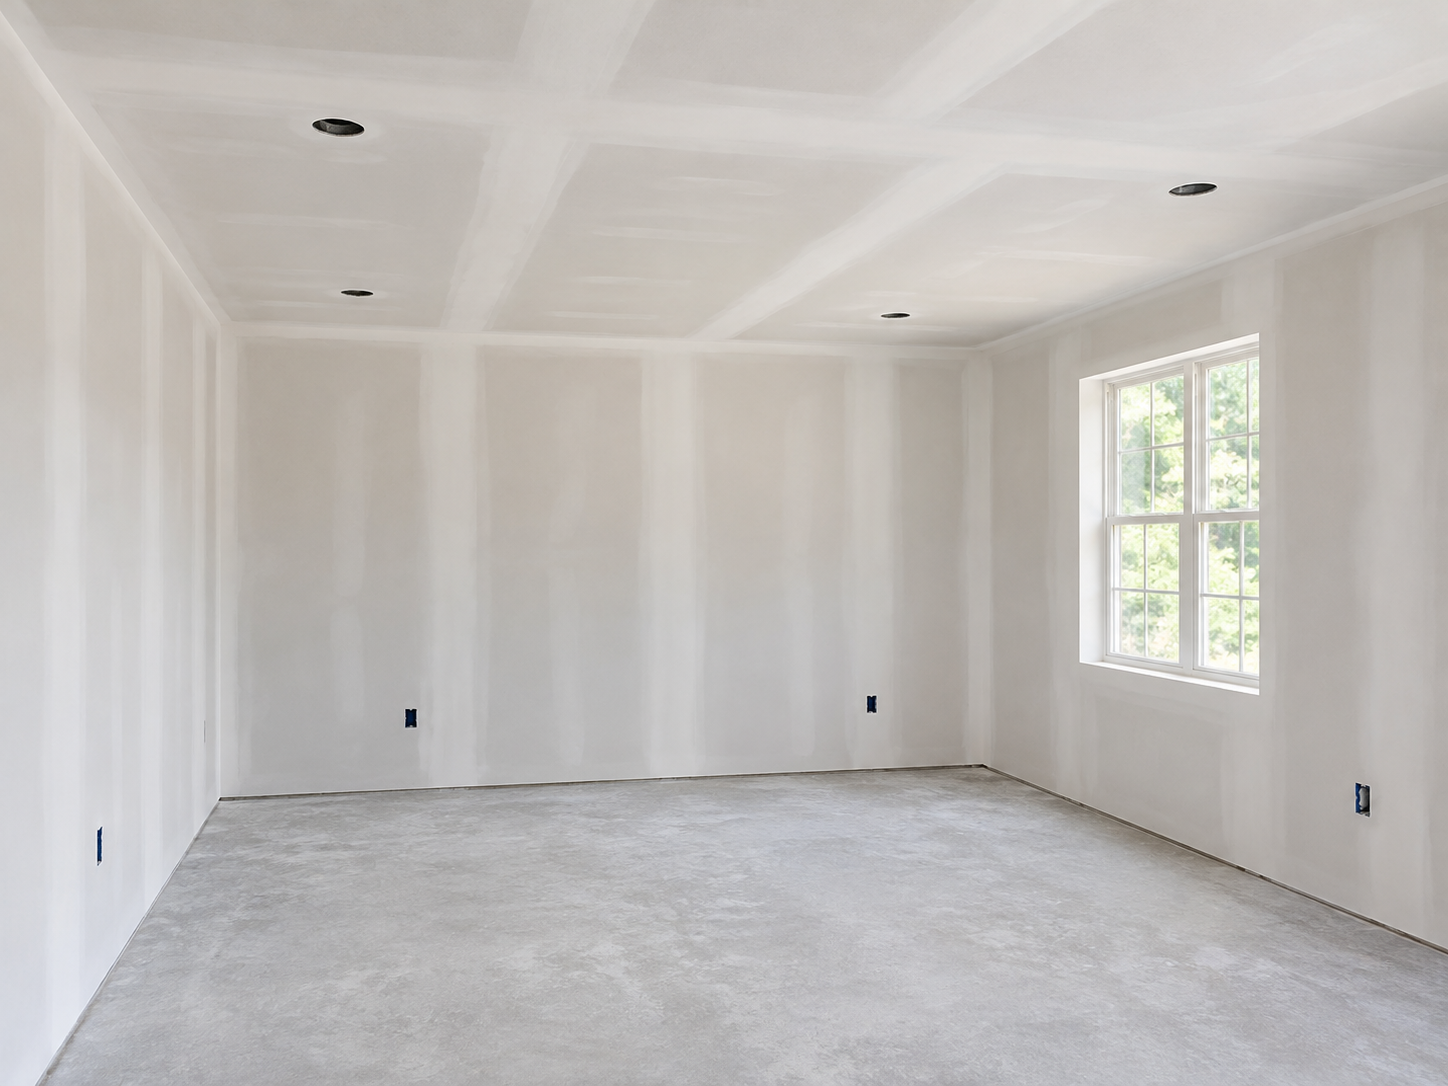
Even after the panels and seams are finished, the work should be checked before painting begins. Small dents, raised screw heads, and rough patches may be easy to miss on bare walls. Once paint is applied, these flaws can stand out. Inspect the walls with good lighting and check corners, joints, and ceiling edges.
If you plan to add drywall texture, make sure the surface is ready for the chosen finish. A careful final check helps avoid repainting or making repairs after the room is complete.
Frequently Asked Questions
Can Poor Drywall Installation Cause Cracks?
Yes. Poor panel layout, weak joints, and improper fastening can cause cracks. Building movement can also play a part, so the cause should be checked before repairs.
How Long Does Drywall Installation Take?
It depends on the room size, job details, and drying time. A small room may take less time than a full house, but finishing often requires several stages.
Can Drywall Installation Mistakes Be Fixed?
Many mistakes can be corrected. Minor flaws may need patching or sanding, while serious panel damage may require drywall repair or replacement.
Should I Hire a Professional Drywall Contractor?
A skilled contractor can help with panel choice, proper fitting, and finishing. This is especially useful for ceilings, large projects, and spaces with special building needs.
Get Your Drywall Installation Done Right
Good drywall work starts long before the first coat of paint. Choosing the right materials, checking the framing, and taking care with every joint can help prevent costly mistakes.
Garcia’s Drywall LLC helps homeowners, builders, and businesses create smooth, well-finished spaces. Contact us to discuss your project and request a free estimate. Explore more drywall tips and home improvement advice on our blog.